Google Knowledge Graph Search

Recently, I built out a quick search widget using the Google Knowledge Graph Search Widget. The widget is a Javascript module that allows you to add topics to your input fields (I've limited mine to People) such as Movies, Places, etc. When a user starts typing, the widget finds a relevant match and it's rendered to the DOM.

artist-search-widget.gif

In this project, I called the KGSearchWidget() passed in a configuration object, limiting the language, type (here I chose Person) and event handler for selecting an item. In the config variable, I limit the number of results in the dropdown, the language searched, the entity type I want returned and the maximum number of characters in the description of each entity. 

kgsearch-data-01.png

My First Twitter Bot

I've been working on this twitter bot occasionally for the past several months and decided to write a three-part series about the process: creating the twitter app, setting up the bot to post images, and hosting the app in the cloud. This bot uses the Rijksmuseum API to tweet out random images from the Amsterdam museum's collection (they made their public domain collection available in order to extend their reach beyond their own website) and is built using node.js (an open source server framework) and the Twit node package (Twitter API Client for node).

rijksmuseum-twitter-bot.png

CREATE A TWITTER APP

Before writing any code, create a Twitter app and get the API keys. Open a new tab in Sublime Text (or your IDE of choice) to hold the API keys and name it config.js. Replace the x's with the matching key values to authenticate:

var config = {
    api_key:  'xxxxxx',
    consumer_key:  'xxxxxx',
    consumer_secret:  'xxxxxx',
    access_token:  'xx-xxxx',
    access_token_secret:  'xxxxxx'
}

module.exports = config;

In order for the bot to make calls to the API, first install the Twit node package and include it in the server.js file with require(). Pull in the Twitter API keys stored in the config file (store the Rijksmuseum API key here as well). Make a Twit object that connects to the APIs and call the post() function to post an actual tweet.

twit-object-01.png

In Terminal, cd into the project folder and type node server.js to send the first tweet. Check your Twitter feed for new activity. The next article will explain how to set the bot up to post images from the collection. The final article in this three-part series on Twitter bots will explain how to host the bot on Heroku and store the image for posting on AWS S3 (Simple Cloud Storage Service).

Scraping Google Street View Images (the brute force way)

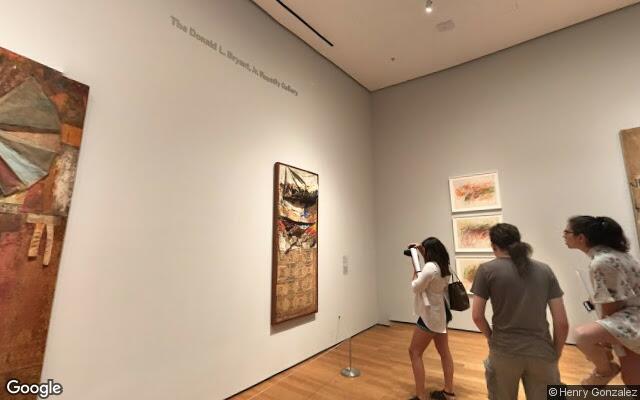
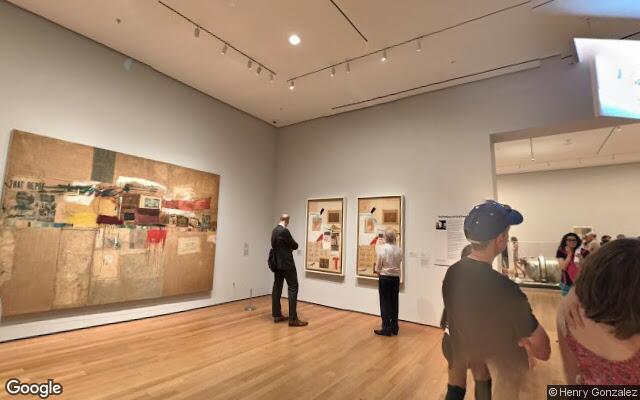
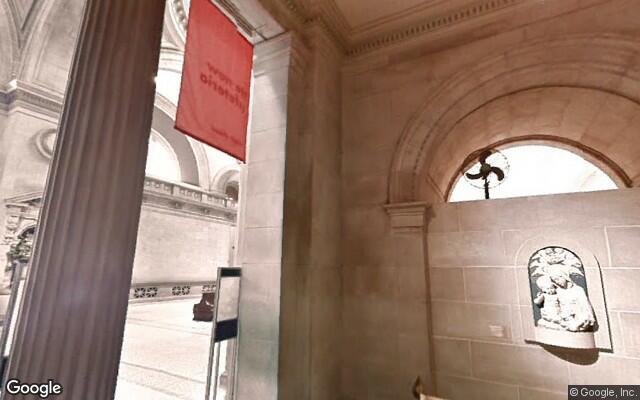
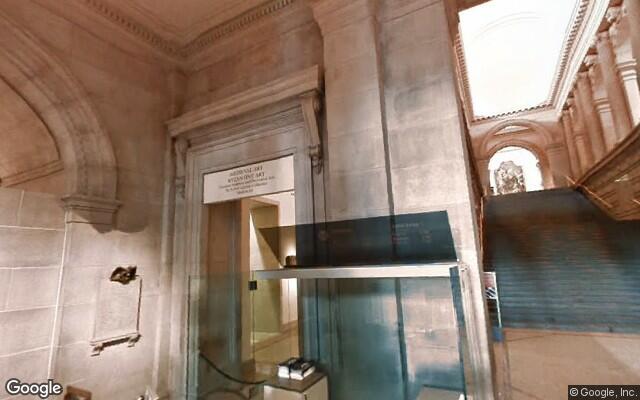
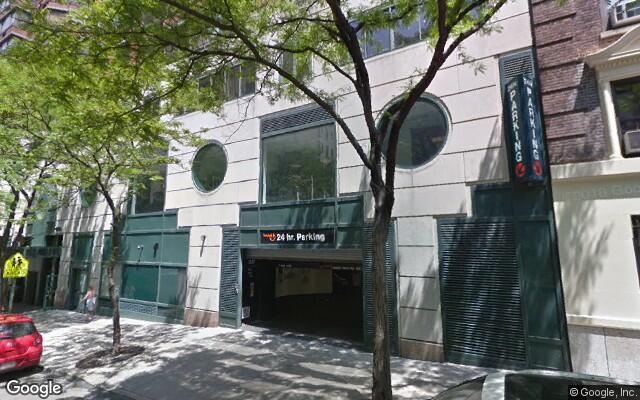
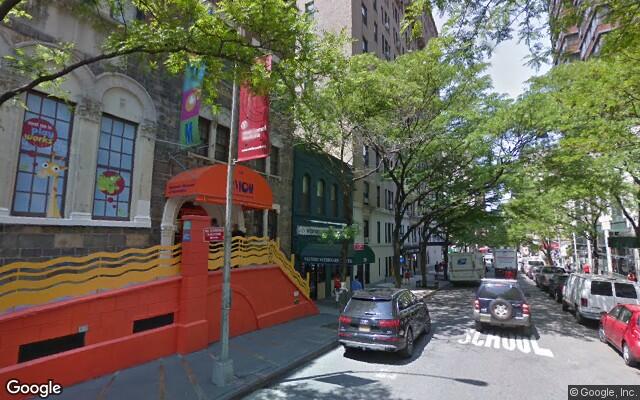
Before I learned how to scrape data from websites – I happen to use the BeautifulSoup package – I learned about this brute force method using a Python script to download images from Google Street View. I want to grab all the Google Street View images for a particular search value. I have a great interest in art and culture as social infrastructure so I'm going to query "museum"; but I can just as easily look up "gallery", "theater", or "cinema" etc. You get the idea. The results shown are: MoMA, Guggenheim, Met, New York Historical Society, Children's Museum, and Bronx Museum.

Manually "scrape" Google Maps by typing in the search term ("museum") and selecting all the results on the first page. Copy the selected results and paste into a blank Google Sheet. The only information relevant to this exercise is the latitude and longitude. Sort the results (Data > Sort Sheet by Column A-Z) and delete all the rows without an address.

At this point, all the data is in one column. Split the text into their respective columns and clean off the non-address portions. Highlight the column, split the text (Data > Split text to columns...), change the dropdown options from comma to space since this is the delimiter on which we'll will be splitting the data. Highlight the non-address columns and delete, shift rows to the left.

The address now needs to be concatenated together to include the city and state – in this case, it's New York, New York. To combine the results of several cells in Google Sheets (or MS Excel) paste the following formula into the first empty cell adjacent to your cell data. Include as many cells as you have filled with data and add a spacer (" ") between each.

=CONCATENATE(A1," ",B1," ",C1," ",D1, " New York, New York")

Copy down the formula by selecting the cell that has the formula, place the cursor in the lower-right corner until it turns into a plus sign (+) and drag the fill handle down. Great! Now we have addresses that can be turned latitude and longitude values using a batch geocoder. Copy the addresses and paste them into the Addresses field of the geocoder. Make sure:

  • Addresses are in: United States
  • Separate text output with: Tabs
  • Include these columns in text output: Deselect all checkboxes
Screen Shot 2017-10-10 at 11.05.25 PM.png

Now download the results and save in csv format. Open in Google Sheets to make sure it looks correct. In the next article, I'll explain how to get a Google Street View API key so that we can batch download the images using a Processing script.

How to Make a Simple Database Server

A couple months ago, I started writing an http server using Node.js; but had to stop because, life. I've written a few of these before, as the foundation for larger Node projects using Express for routing and MongoDB for data storage; but never used local data storage. This is the first of three posts. For the first part this program, I will be creating the database server using only what's available to me with Node.js. Before I jump into the code, a quick outline sets me up for a smooth(ish) execution:

  1. Create an empty Node.js project
  2. Install any dependencies, e.g. request
  3. Create the server and have it accessible from http://localhost:4000/
  4. Give it two routes: http://localhost:4000/set?somekey=somevalue and http://localhost:4000/get?key=somekey
  5. Store the key and value in local memory on the set
  6. Retrieve the key on the get

CREATING THE EMPTY NODE PROJECT

Create a new directory and cd into it.

mkdir simple-database
cd simple-database
npm init

This creates the package.json file to store the dependencies. Then, create the main file file that will contain the server code:

touch index.js

INSTALLING DEPENDENCIES

npm install request --save

Check the package.json file:

{
  "name": "simple-server",
  "version": "1.0.0",
  "description": "simple database server",
  "main": "index.js",
  "scripts": {
  },
  "author": "your name",
  "license": "ISC",
  "dependencies": {
    "request": "^2.79.0"
  }
}

Running these dependencies adds the node_modules folder in the root directory. Installing the request package allows you to make http requests. The --save option automatically adds the package to the package.json file and saves that version to the project in the node_modules directory. 

WRITING THE SERVER CODE

The first step in creating an http server is to require the http module. http modules are included when Node is installed so no additional steps are needed to import it. Using the http module's createServer( ) method, the server is now created. The createServer( ) method takes a callback function as a parameter. Every time the server receives a new request, the callback function is executed. At this point, you can check the terminal and browser window ... each should say 'This works.' If you refresh three times, you should see 'This works' logged three times in the terminal.

The callback function takes two parameters, a request and a response. The request object contains information such as the URL, while the response object is used to return the headers and content to the user making the request.

The callback function begins by calling the res.writeHead() method which sends an HTTP status code - in this case it's 200, an indication of success - and response headers to the user making the request. If you don't specify headers, Node will send them for you. Next, the server calls the res.end() method which tells the server that the response headers have been sent and the request has been fulfilled. It can be called with no parameters, but in this case, I've included a message 'This works' as an indication that the request has been fulfilled.

The listen() method activates the server on port 4000. 

var http = require('http');

http.createServer(function(req, res){
    console.log('This works.');
    res.writeHead(200, {'Content-Type': 'text/html'});
    res.end('This works.');
}).listen(4000);

Making a Modular Grid & Baseline in Illustrator

Lately, I've been reading everything I can get my hands on about grids. A couple favorites are: Making and Breaking the Grid, The Designer and the Grid and just to set things off on the right design-minded foot, The Vignelli Canon. Every document I create sits on top of some type of grid-based structure. In web development, I use Twitter Bootstrap's 12-Grid System (12 columns and unlimited rows) to lay the foundation for the content. For print projects, depending on the nature of the project, I'll make my own grid. This brief tutorial attempts to walk through the process of setting up that structure. I won't get into the weeds about content hierarchy or typeface selection. I will however, take a more straight-forward approach to this specific part of the project setup.

Setting Up the Page

It's up to you to decide whether to take the font-size into consideration. For simplicity, I'll use a font-size of 10.5 pixels on an A4 (210mm x 297mm) page size - this is closest to 8 1/2 x 11. The default setting for most layout software is 120 percent of the type size and conventions finds that anything between 120% and 145% works. In the end it comes down to what you think looks good; but this is at least a starting point.

Some projects require control over vertical as well as the horizontal flow. In this case, a modular grid may be a good solution. Modular grids have vertical columns and horizontal flowlines the divide the columns into rows - similar to Twitter Bootstrap. Each one of the cells is called a module - hence the name. This modular grid will have four columns and eight rows, with a 3mm bleed around the edge of the entire document. Now let's open Illustrator and begin:

  • Make sure your rulers are on (⌘ + R)
  • Select the rectangle tool, make sure smart guides are on (⌘ + U)
  • Find the center of the document, hold down the Option key and click once (you’ll see a crosshair appear and a dialog box which you'll fill with the width and height dimensions). In this case, the A4 measurements (210mm x 297mm)
  • Next to each dimension, type - 24pt (this will put a 12 point gutter around the edge of the document)
  • Click OK
  • Change the color of the rectangle to #000 with a transparency of 20%
  • Click on Transform. The newly adjusted dimensions are: width (201.533 mm) and height (288.533 mm)

Screen Shot 2017-01-02 at 9.18.29 PM.png

Making the Grid

Take the height of the rectangle (288.533 mm) and divide it by the leading - also known as line spacing. I've decided on a 14 point(4.94 mm) leading to give the type some breathing room. This gives us the number of lines of text that will fit on the page (58.41). However, we need to use a number that will divide evenly into 8. In this case, it's 56 (7 lines of text for each row). We will use one less, bringing the number of lines to 55.

Now, take the height of the rectangle (288.533 mm) and divide it by the 55 lines. This is the new leading, 5.246 mm - it's also going to be the width of the gutter (space between the columns).

  • Select the rectangle
  • Go to Object > Path > Split into Grid...
  • Check the Preview box; but leave Add Guides unchecked for now
  • Fill in the number of rows (8) and columns (4)
  • Fill in the new gutter, 5.246 mm 
  • Click OK
Screen Shot 2016-12-30 at 10.47.07 PM.png

Select all the boxes and group them together (⌘ + G) so that they are easily selected later on. Go back to Object > Path > Split into Grid... and check the Add Guides box. Now click OK.

  • Create a new layer and name it Guides
  • Select the guides and move them to that layer
  • Using the Direct Selection (white arrow) tool, drag it over the top of the rectangle to select the vertical guides
  • In the Transform panel, type the height of the page (297 mm). The guides will be shortened to fit the page.
  • Make the lines into guides, View > Guides > Make Guides (⌘ + 5)
  • Repeat the same for the horizontal lines, with a width of 210 mm.
  • Lock the Guides layer

Making The Baseline

While the grid helps to set a structure for organizing the content on the page, the baseline helps set a vertical rhythm for the text to flow.

Screen Shot 2017-01-02 at 9.38.49 PM.png
  • Create a new layer and name it Baseline
  • Create one line across the top grid. Give it a red stroke color and no fill.
  • Go to Effects > Distort & Transform > Transform
  • The Preview check box should be selected
  • Now we want to duplicate the line we just created vertically with an offset using the leading measurement, 5.246 mm
  • The number of copies we want is 55
  • Click OK
  • If you need to go back and adjust any of the numbers here, click the Window > Appearance tool and you'll see there is an fx next to Transform. Click it to modify.

Now you have a grid and baseline to lay out your print project.

Screen Shot 2017-01-02 at 9.46.13 PM.png

To-Do List | Module Pattern

So for my first foray into using a design pattern, I'm making a Todo program using the Revealing Module Pattern. This pattern is based on the Module Pattern which I spoke about in my last blog post. The benefit of using this structure is that you can easily see the publicly available functions and variables clearly listed within the return statement.

To-Do List Mock Up

To-Do List Mock Up

I start by assigning the module to a variable that I will then use to call the methods. In this case, I called it Todo because I'm building a Todo program. I then assigned each of the DOM elements that I would be referencing (e.g. the form, the add button and the unordered list) to variables.

This program has only one method -- it's called addListItem. Within it, I assign an event listener and pass in two parameters. The first parameter is the event, in this case I'm using submit and the second parameter is the function. In the function, I create the element (in this case it's a list item), set the attributes of the input element (for this program I am using a checkbox which later on I can make functional so that when someone checks off a task, it can disappear or the text can have a strike-through) and insert the elements into the DOM (whatever words the user types into the text input field).

Within this method, I've also included an event listener on the form which listens for when the user types in the todo item and presses enter -- in this case, I've used the submit event. I could have also used a click event on the button element. 

$(document).ready(function() {

    var Todo = Todo || {};
    
    Todo.Item = (function(){
        'use strict';
        // assigen DOM elements to variables
        var 
            _form = document.querySelector('form'),
            _inputItem = document.querySelector('.input_item'),
            _button = document.querySelector('button'),
            _ul = document.querySelector('ul');
            
            // set up event listeners
            var addListItem = _form.addEventListener('submit', function(event){
                event.preventDefault();

                // create elements
                var li = document.createElement('li');
                var checkbox = document.createElement('input');
                var label = document.createElement('label');

                // decorate elements
                checkbox.setAttribute('type', 'checkbox');
                checkbox.setAttribute('id', 'check');

                label.setAttribute('id', 'item_text');

                label.textContent = _inputItem.value;

                // insert elements into DOM
                _ul.appendChild(li);
                li.appendChild(checkbox);
                li.appendChild(label);
            });
        
        return {
            add: addListItem
        };

        Todo.Item.add();

    })();

});

Before I write any code, I tend to sketch out a short check list of steps that describes in human terms what the program will do. This one is still relatively technical, and can be outlined even simpler still. 

image.jpg
image.jpg

Algorithms | Monks in a Monastery

Last week I tackled another brain teaser. Loosely based on the Blue-Eyed Island brain teaser, this one uses monks in a monastery.

A bunch of monks are living in a monastery, and a visitor comes to visit with a strange request: all monks with Xs on their foreheads must leave the monastery as soon as possible. Each monk can see the others’ forehead, but they do not know whether they have an X on their own forehead (nor is anyone allowed to tell them). Additionally, they do not know how many monks have an X on their forehead, although they do know that at least two people do. How many days will it take for the monks with Xs on their heads to leave?
— Cracking the Code, Chapter 6, page 123
Whiteboarding  

Whiteboarding  

Some more things

Border Change on Text Input

I've created a small input field whose border turns green when the user enters text. When the user deletes the text, the border returns to it's default color. Nothing fancy.

The structure of the page is an input field with a placeholder attribute. This one has some simple text that says, "Please type text in here ..." For the stylesheet, I imported a nice sans-serif font from the Google Fonts website using @import. To the universal selector, I've set the box-sizing to border-box which includes both padding and borders when calculating the width of an element (the margin is not included in this calculation). The input field, I've set to display:block so that I am able to easily center the field horizontally on the page using margin:auto. I've removed the default focus glow from the input field and styled it's text with the imported Google font.

The micro interaction is controlled by setting the input element to a variable, in this case I left it at input to keep things simple. Then, used this input element to add an event listener (in this case I'm using keydown) so that when we interact with the element by placing our cursor in the field and start typing, we can get the border color to change. I save the border color information to a class in the CSS file.

The event listener takes in two parameters, the first is the event and the second is the function that holds the behavior for the event. The second parameter in the event listener will run after the user does the action in the first parameter. The second parameter contains a conditional statement that states when the user types something in the input field, the border will turn green else if the field is empty it will revert to its default color. A class of .success is added to the input element via the classList property which references the .success class defined in the CSS file.

Trying out a new Javascript Design Pattern

So, lately I've been obsessed with writing beautiful, modular, well-written code. To date, I feel that I've been writing code in a reactive manner - throwing things together like spaghetti, crossing my fingers and hoping it all works. For the most part they do, barely. I've been comparing my progress with learning to write code with learning to write; or at least what I remember it was like to learn to write. Now that I fell as though I can get some sentences and even paragraphs out onto the page, I'd like to be able to construct these thoughts more elegantly.

Lucky for me, a design pattern already exists for writing beautiful, modular code -- the JavaScript Module Pattern. It's also one of the more common design patterns made popular by Douglas Crockford.

    var MYAPP = MYAPP || {};

    // arithmetic is the namespace
    MYAPP.arithmetic = (function(){
        'use strict';

        // this is a private property
        var _result = 'The result is: ';

        // this is a private function
        var _showResult = function(answer){
            console.log(answer);
        }

        return {
            addMethod: function(num1, num2){
                // console.log('this is a public method');
                var sum = num1 + num2;
                _showResult(_result + sum);
            },
            subtractMethod: function(num1, num2){
                // console.log('this is a public method');
                var subtract = num1 - num2;
                _showResult(_result + subtract);
            }
        };
     })();

    // multiplication is the namespace
    MYAPP.multiplication = (function(){
        'use strict';

        // this is a private property
        var _result = 'The result is: ';

        // this is a private function
        var _showResult = function(answer){
            console.log(answer);
        }

        return {
            multiplyMethod: function(num1, num2){
                var times = num1 * num2;
                _showResult(_result + times);
            }
        };
     })();

    MYAPP.arithmetic.addMethod(4, 8);
    MYAPP.arithmetic.subtractMethod(24, 18);
    MYAPP.multiplication.multiplyMethod(4, 8);

The foundation of a module is the anonymous closure that encapsulates the code, keeping all within it private from any conflicting code another developer may write. This closure is formally known as an immediately invoked function expression aka IIFE.

(function(){
    // all the code here
 })();

The IIFE is then assigned to a variable, which is basically the Module. In this case, I have very generically called it, MYAPP. This Module will then be used to call the methods.

var MYAPP = (function(){
    // all the code here
 })();

Since all of the methods within the Module are private, in order for them to be made public and available to the Module, we must return an Object with the methods defined within.  

var MYAPP = (function(){
    return {
        publicMethod: function() {
            console.log('The information is here is public.');
        }
    }
})();

// This will output the statement 'The information is here is public.'
MYAPP.publicMethod();

Now, let's create a private method and call it from the public one.

var MYAPP = (function(){
    var _privateProperty = 'The information in here is public';
    var _privateMethod = function(){
        console.log(_privateProperty);
    }
    return {
        publicMethod: function(){
            _privateMethod();
        }
    }
});
// This will output the statement 'The information is here is public.'
MYAPP.publicMethod();

The publicMethod allows access to the _privateMethod, providing control. In the example at the top, I've created two namespaces (just for show) within the MYAPP method - arithmetic and multiplication. In the arithmetic namespace, both the addMethod and subtractMethod allow access to the private _showResult method. On the last three lines, we interact with the different methods within the Module through the namespaces.